Welcome to my brand new website!
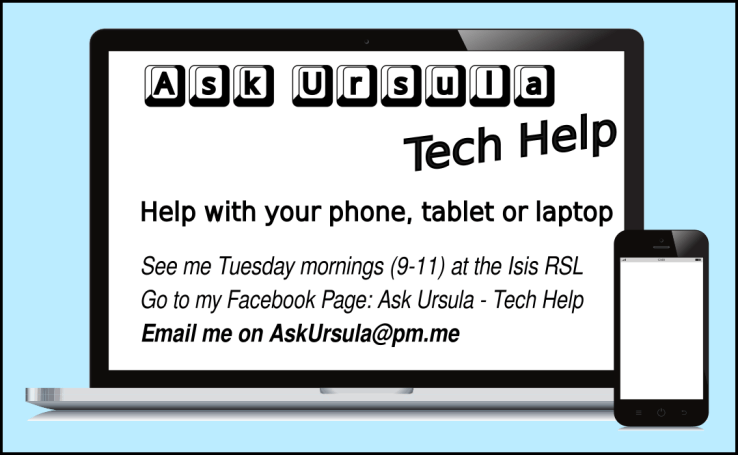
From very humble beginnings with weekly sessions at the local RSL club, to a Facebook page and articles in our local newspaper, I have now created my own website to collect all the information I have published over the years and give my students and helpers a place to ask questions, share information and generally keep in touch.
You can ask questions here (comments will be public, or contact my via email to keep it private) – and there is no connection with Facebook or any other snooping company nor is there age verification required. All I ask is that you enter your email address (not public) on your post/comment so I can get back to you with a personalised answer.
You can also subscribe to my newsletter (no more than 2 a month) to be kept up-to-date with my articles and other things happening at ‘Ask Ursula’.
Have a look around and bookmark this page so you can refer back to it whenever you have a question about your devices.